my UPDATED 2024 makeup routine! ₊‧°𐐪♡𐑂°‧₊ | my everyday simple makeup look! ♡
Today I will be sharing with you my everyday makeup routine! My makeup routine takes about 10-15 minutes to do (that excludes pre makeup prep) and is perfect for practically any occasion! I usually wear it to school, church, running errands, etc. For reference, I am a beginner/amateur when it comes to makeup, and I have oily/acne prone skin! Also, all the products I use are relatively inexpensive, and most can be found at the drugstore, making this look achievable for many! ♡ Let's get into it!! <3
🎀| Step 1) SKINCARE/SKIN PREP!!!
*note - image is not mine!!
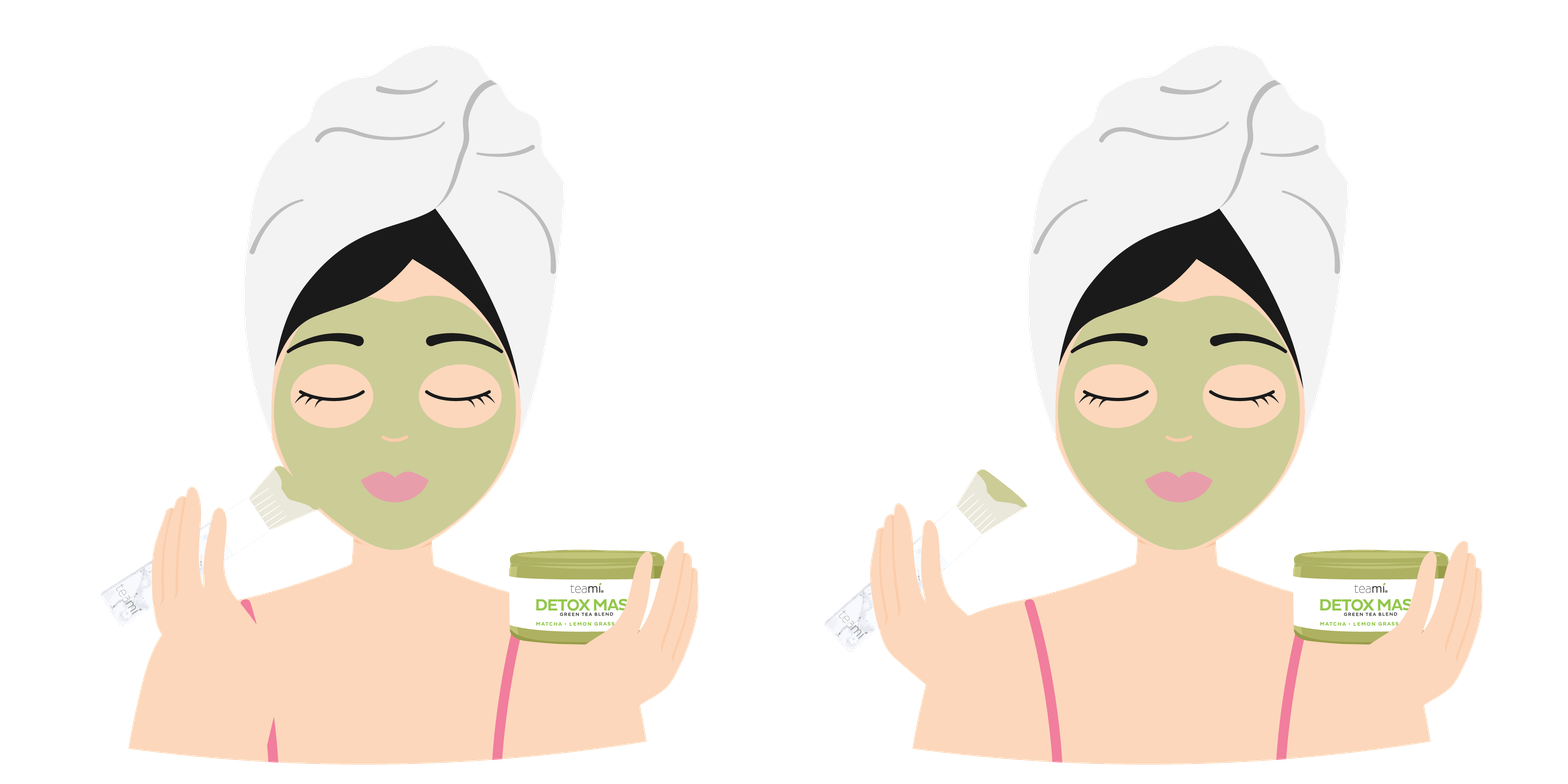
One of the most important steps of makeup is skincare and skin prep! It is SO important that our face is clean and hydrated before doing any makeup!! I'll post my skincare routine in another post, but for this step all you really need is a face wash, a moisturizer, and an SPF!! Obviously, you need face wash to cleanse your face, moisturizer since keeping your skin hydrated helps to keep your makeup from cracking, and SPF since we want to protect our skin from harsh UV!! By doing this, you now have a fresh face for makeup! <3
🎀| Step 2) THE BASE!!
*note - image is not mine!!
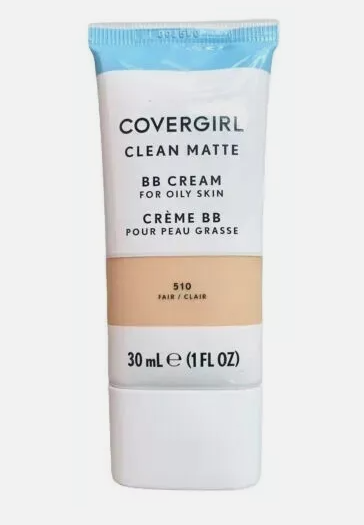
After skin prep, the first product I use is this BB cream from Covergirl in shade 510! I like to use this stuff since it is lighter than foundation, helps cover my fainter acne scars, and overall looks pretty natural if you don't use too much! It's perfect for a daily look because of it's natural finish, and it's pretty easy to apply as someone who is no makeup expert! It is also great for oily skin!! I apply this stuff by squeezing a very small amount (about the size of a pea) on my chin, forehead, and cheeks. I then use a wet beauty blender/sponge to blend the product into my skin.
🎀| Step 3) Conceal acne/acne scars
*note - image is not mine!!
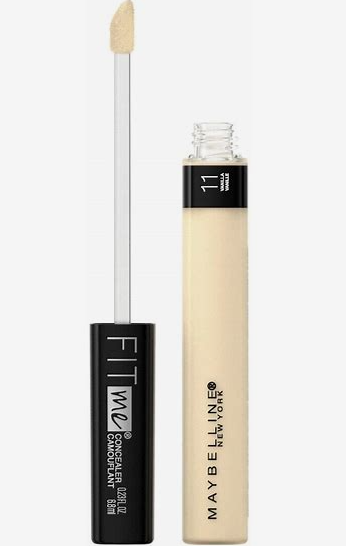
The next step is to use a concealer to cover up any acne/acne scars. I use the Maybelline Fit Me concealer in shade 11, and I apply a VERY small amount to any spots I want to cover. You don't want to apply a lot since it will look cakey!! A little goes a long way! After you applied the product to the spots, don't immediately blend it!! You're going to want it to sit for a while before you blend it, so in the meantime we will move on to Step 4
🎀| Step 4) Under eyes
*note - image is not mine!!
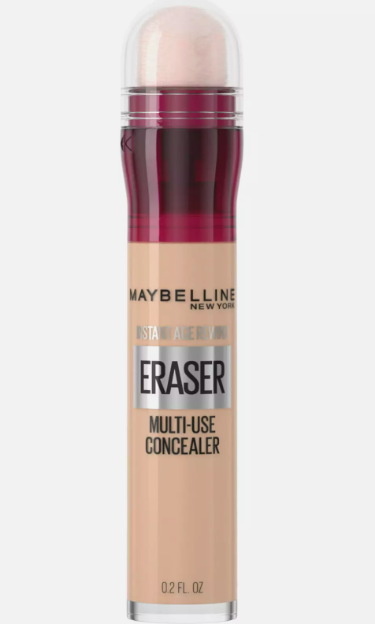
As a student, there's definitely some nights when I get a little less sleep than I bargained for, which is why this step is really handy. I use the Maybelline Instant Age Rewind concealer in the shade 115. I apply a bit under my eyes, and then blend with a beauty blender/sponge
*note - image is not mine!!
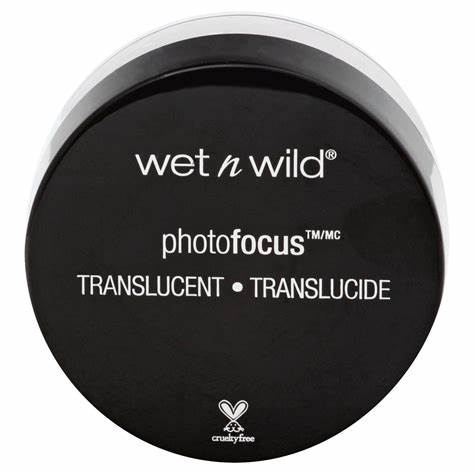
After you apply and blend the concealer, you'll want to set it with a powder. I use the translucent loose powder from Wet n Wild. I first apply the powder under my eyes/on the concealer with a powder puff. I then dust away the extra powder with a brush. Applying powder is super important since it helps set your concealer! Make sure that you don't apply too much powder though, since we don't want to look cakey!!
🎀| Step 3.5) Blend concealer on acne/acne scars!!
Remember Step 3? Now that we finished our under eyes, you can go ahead and blend the concealer on the acne/acne scars. I usually blend mine with beauty blender/sponge.
🎀| Step 5) Blush!
*note - image is not mine!!
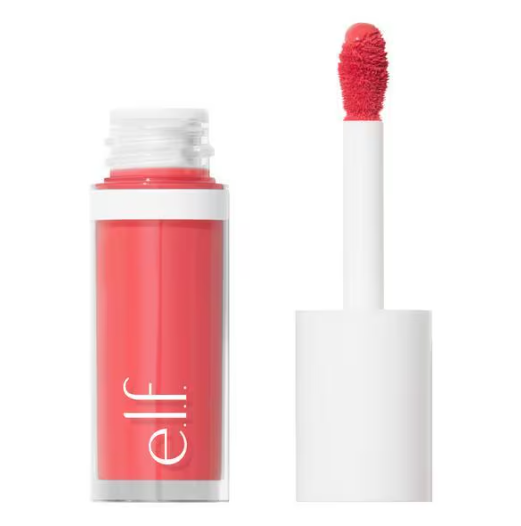
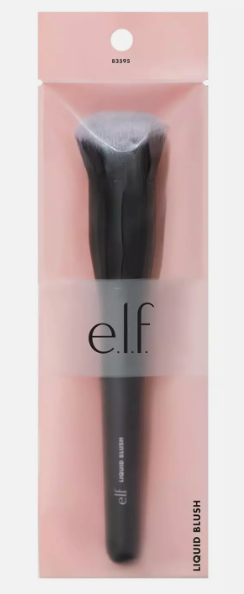
Now that we've completely finished our base, we can move onto the finishing touches! I like to use the Elf Camo Liquid Blush in the shade Pinky Promise. To apply this, I first apply a small dot of the blush to a flat surface, for this I use a random piece of plastic from some clear packaging. You only want to apply one dot, and you want to apply this dot to a surface that isn't your face since this stuff is SUPER pigmented and we don't want to apply too much and become bright pink! Next, I dab the Elf Camo Liquid Blush Brush into the dot, and I then apply the blush to my cheeks. This gives you the perfect blushed look, without looking overly pink.
*note - image is not mine!!
This is the brush I use by the way!
🎀| Step 6) Highlighter!
*note - image is not mine!!
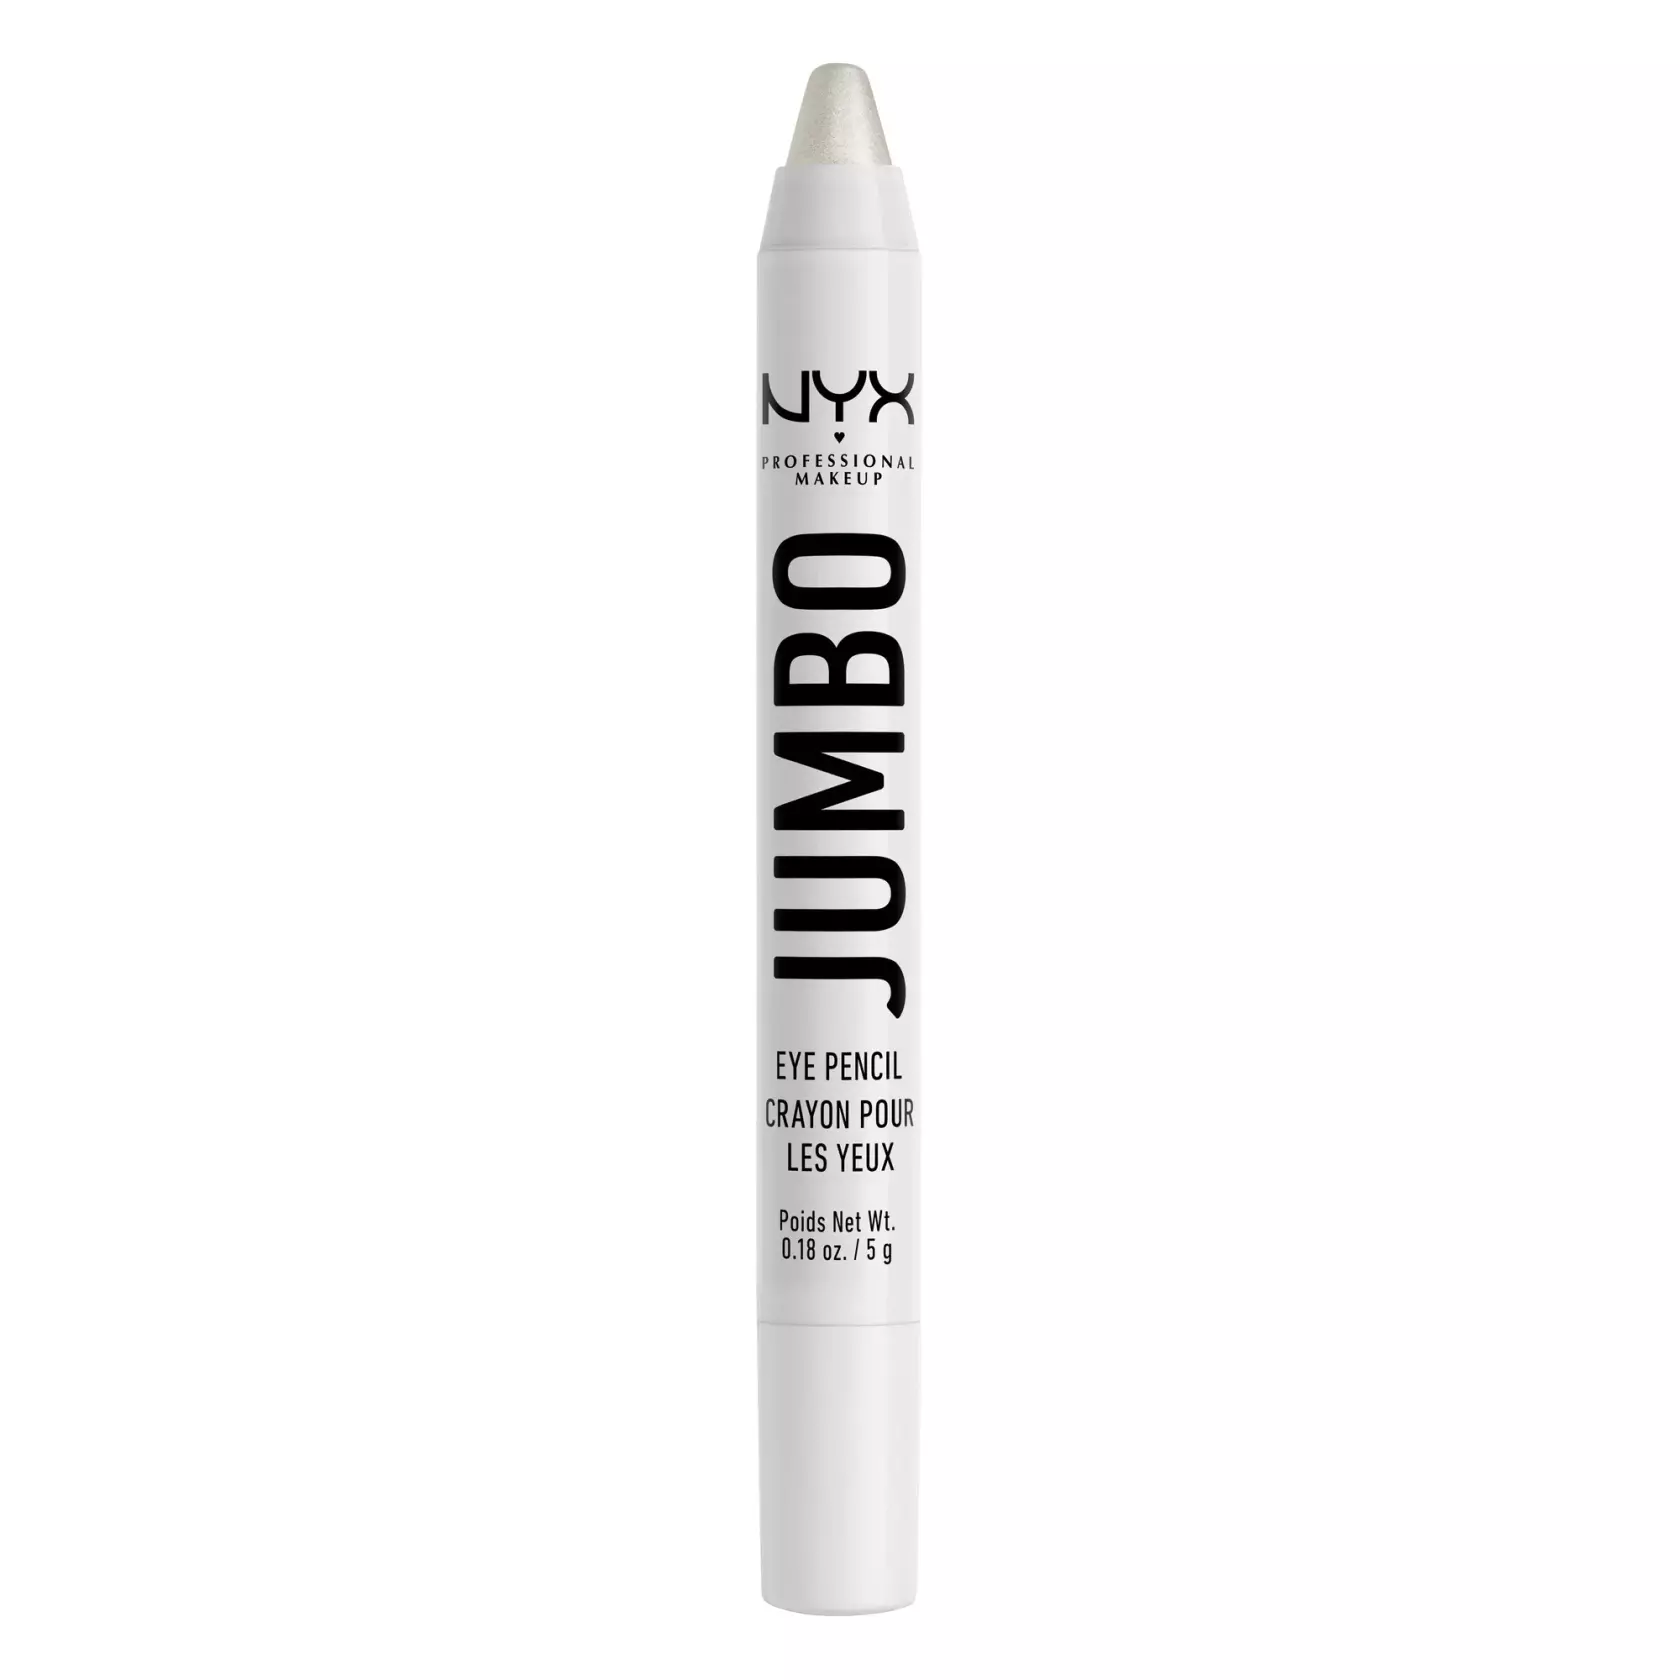
The next step is to add some highlighter on the inner corners of your eyes! I personally like to use this Ioni stick from Dollar Tree that I got years ago. The only issue with this product is that they no longer sell it. Nyx however, makes a very similar product. I have not tried the Nyx one though so I could not give you any opinions on it.
*note - image is not mine!!
This is the Nyx one I'm taking about!
*note - image is not mine!!
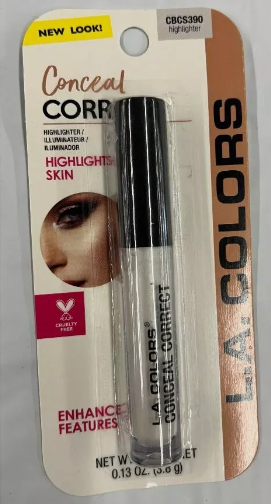
Next, I also like to apply some highlighter on my nose. I usually apply it like an exclamation point, with a little dot at the tip, and a line on the bridge. Make sure you don't apply too much highlighter, and make sure you blend it well since we don't want it to look obnoxious! I like to use this liquid highlighter from L.A Colors, you can find it at Dollar Tree!
🎀| Step 7) [OPTIONAL!] Eyeliner!
*note - image is not mine!!
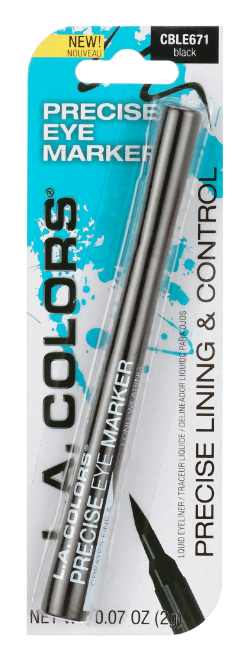
A little eyeliner can be a great touch! I like to use this eyeliner from L.A Colors, and I usually just draw a very small line since I have hooded eyes and can't do much of a wing. Most of the time, I just skip this step all together though.
🎀| Step 9) LIPS!!
*note - image is not mine!!
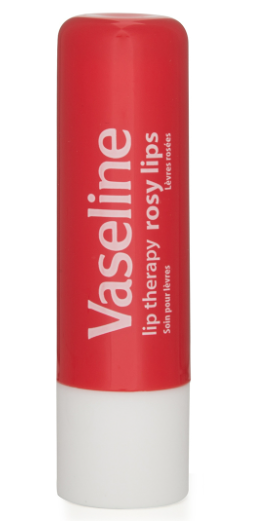
Lip products are one of the best parts of makeup!!! I first like to start with lip balm since crusty lips are not cute! The Vaseline Rosy Lips lip balm is my favorite.
*note - image is not mine!!
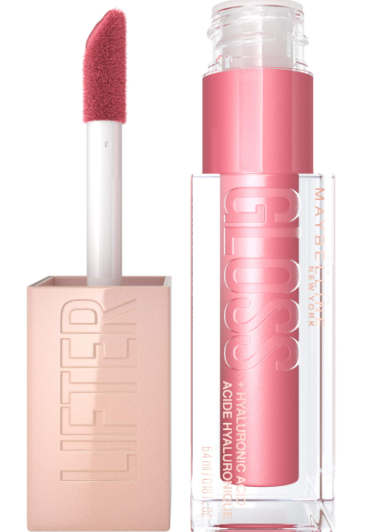
My lip product of choice is definitely lip-gloss. My all-time favorite is the Maybelline Lifter Gloss in the shade 005 Petal. It's the perfect neutral pink!
*note - image is not mine!!
Sometimes though, I like to switch it up and use the Maybelline Lifter Gloss in the shade 014 Heat. It's a really sheer raspberry/reddish shade.
*note - image is not mine!!
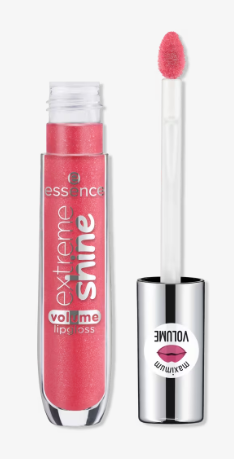
I also like this Essence lip-gloss, it's in the shade 06 Candy Shop. It's a really pretty warm pink!
*note - image is not mine!!
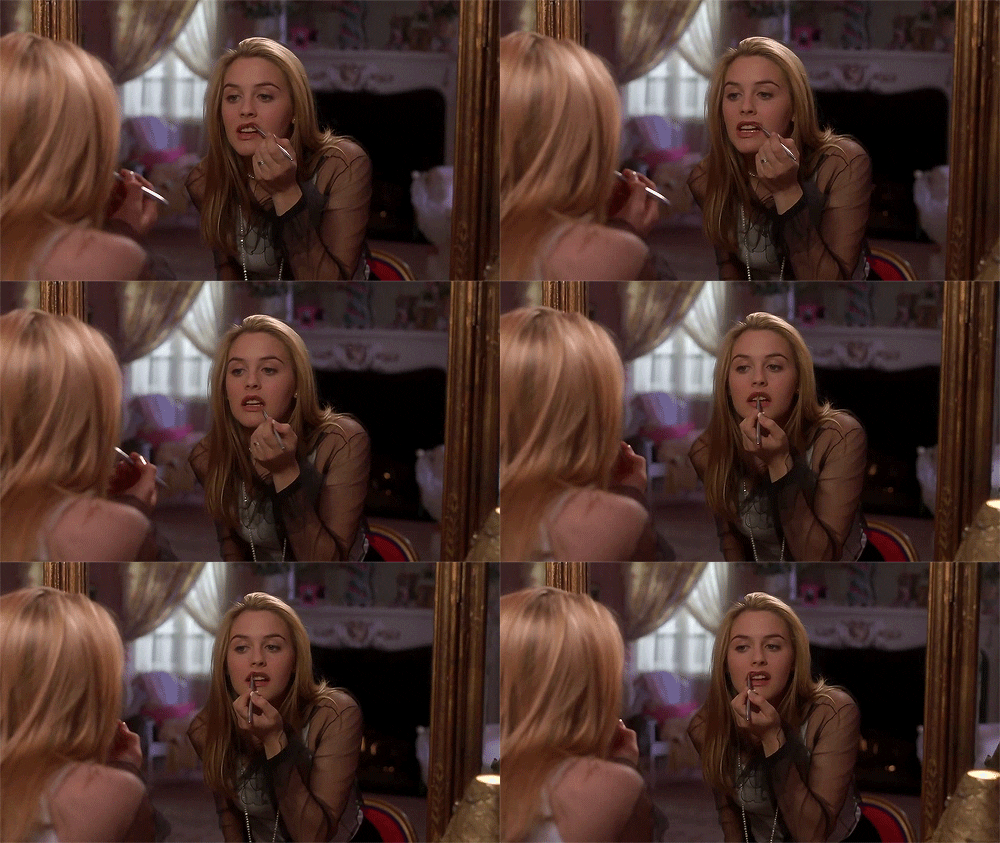
And with that the makeup routine is done!! Now all you have to do is your hair and pick out a cute outfit!!
*note - image is not mine!!


No comments to display
No comments to display